HOW I MAKE A COMIC BOOK PAGE, PART 2!
Comic Book Practice, Part One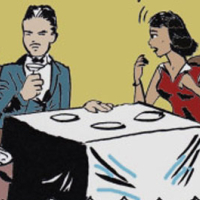
No Regrets
Comic Book Practice, Part Two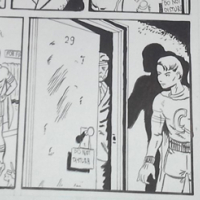
Becoming
Comic Book Practice, Part Three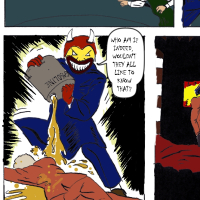
The Flames
Comic Book Practice, Part Four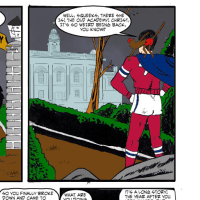
Arising
Comic Book Practice, Part Five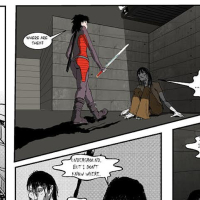
Absorbing
Comic Book Practice, Part Six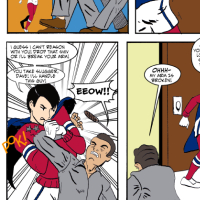
Inspiring
Sam Battin here. I'm trying to learn more about comics by copying pages I think are good. This is the second time I've tried this.
Step One: Getting Started
So this time I didn't have to clean off my drawing table. I learned a lot from the last time, but I didn't have a specific plan or goal this time except to try to learn more. I ended up learning new stuff about perspective, and panel composition, and the difference between me and a professional.
Step Two: Doing the Pencils
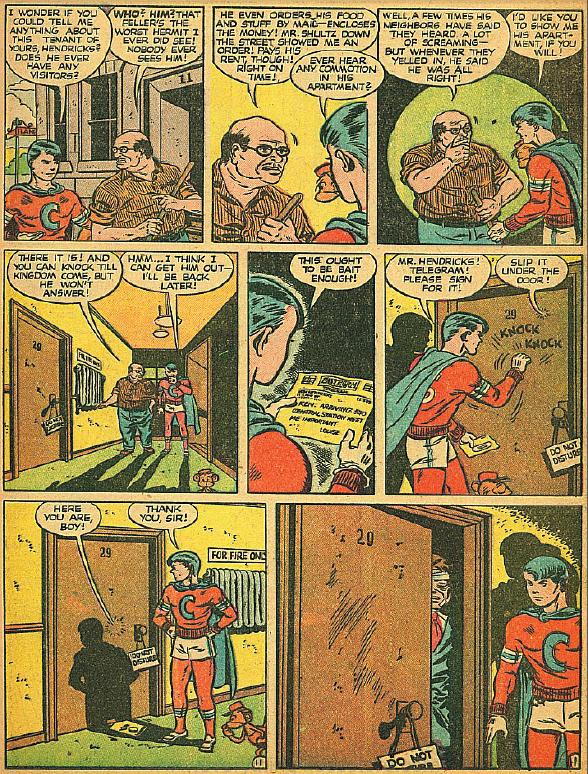
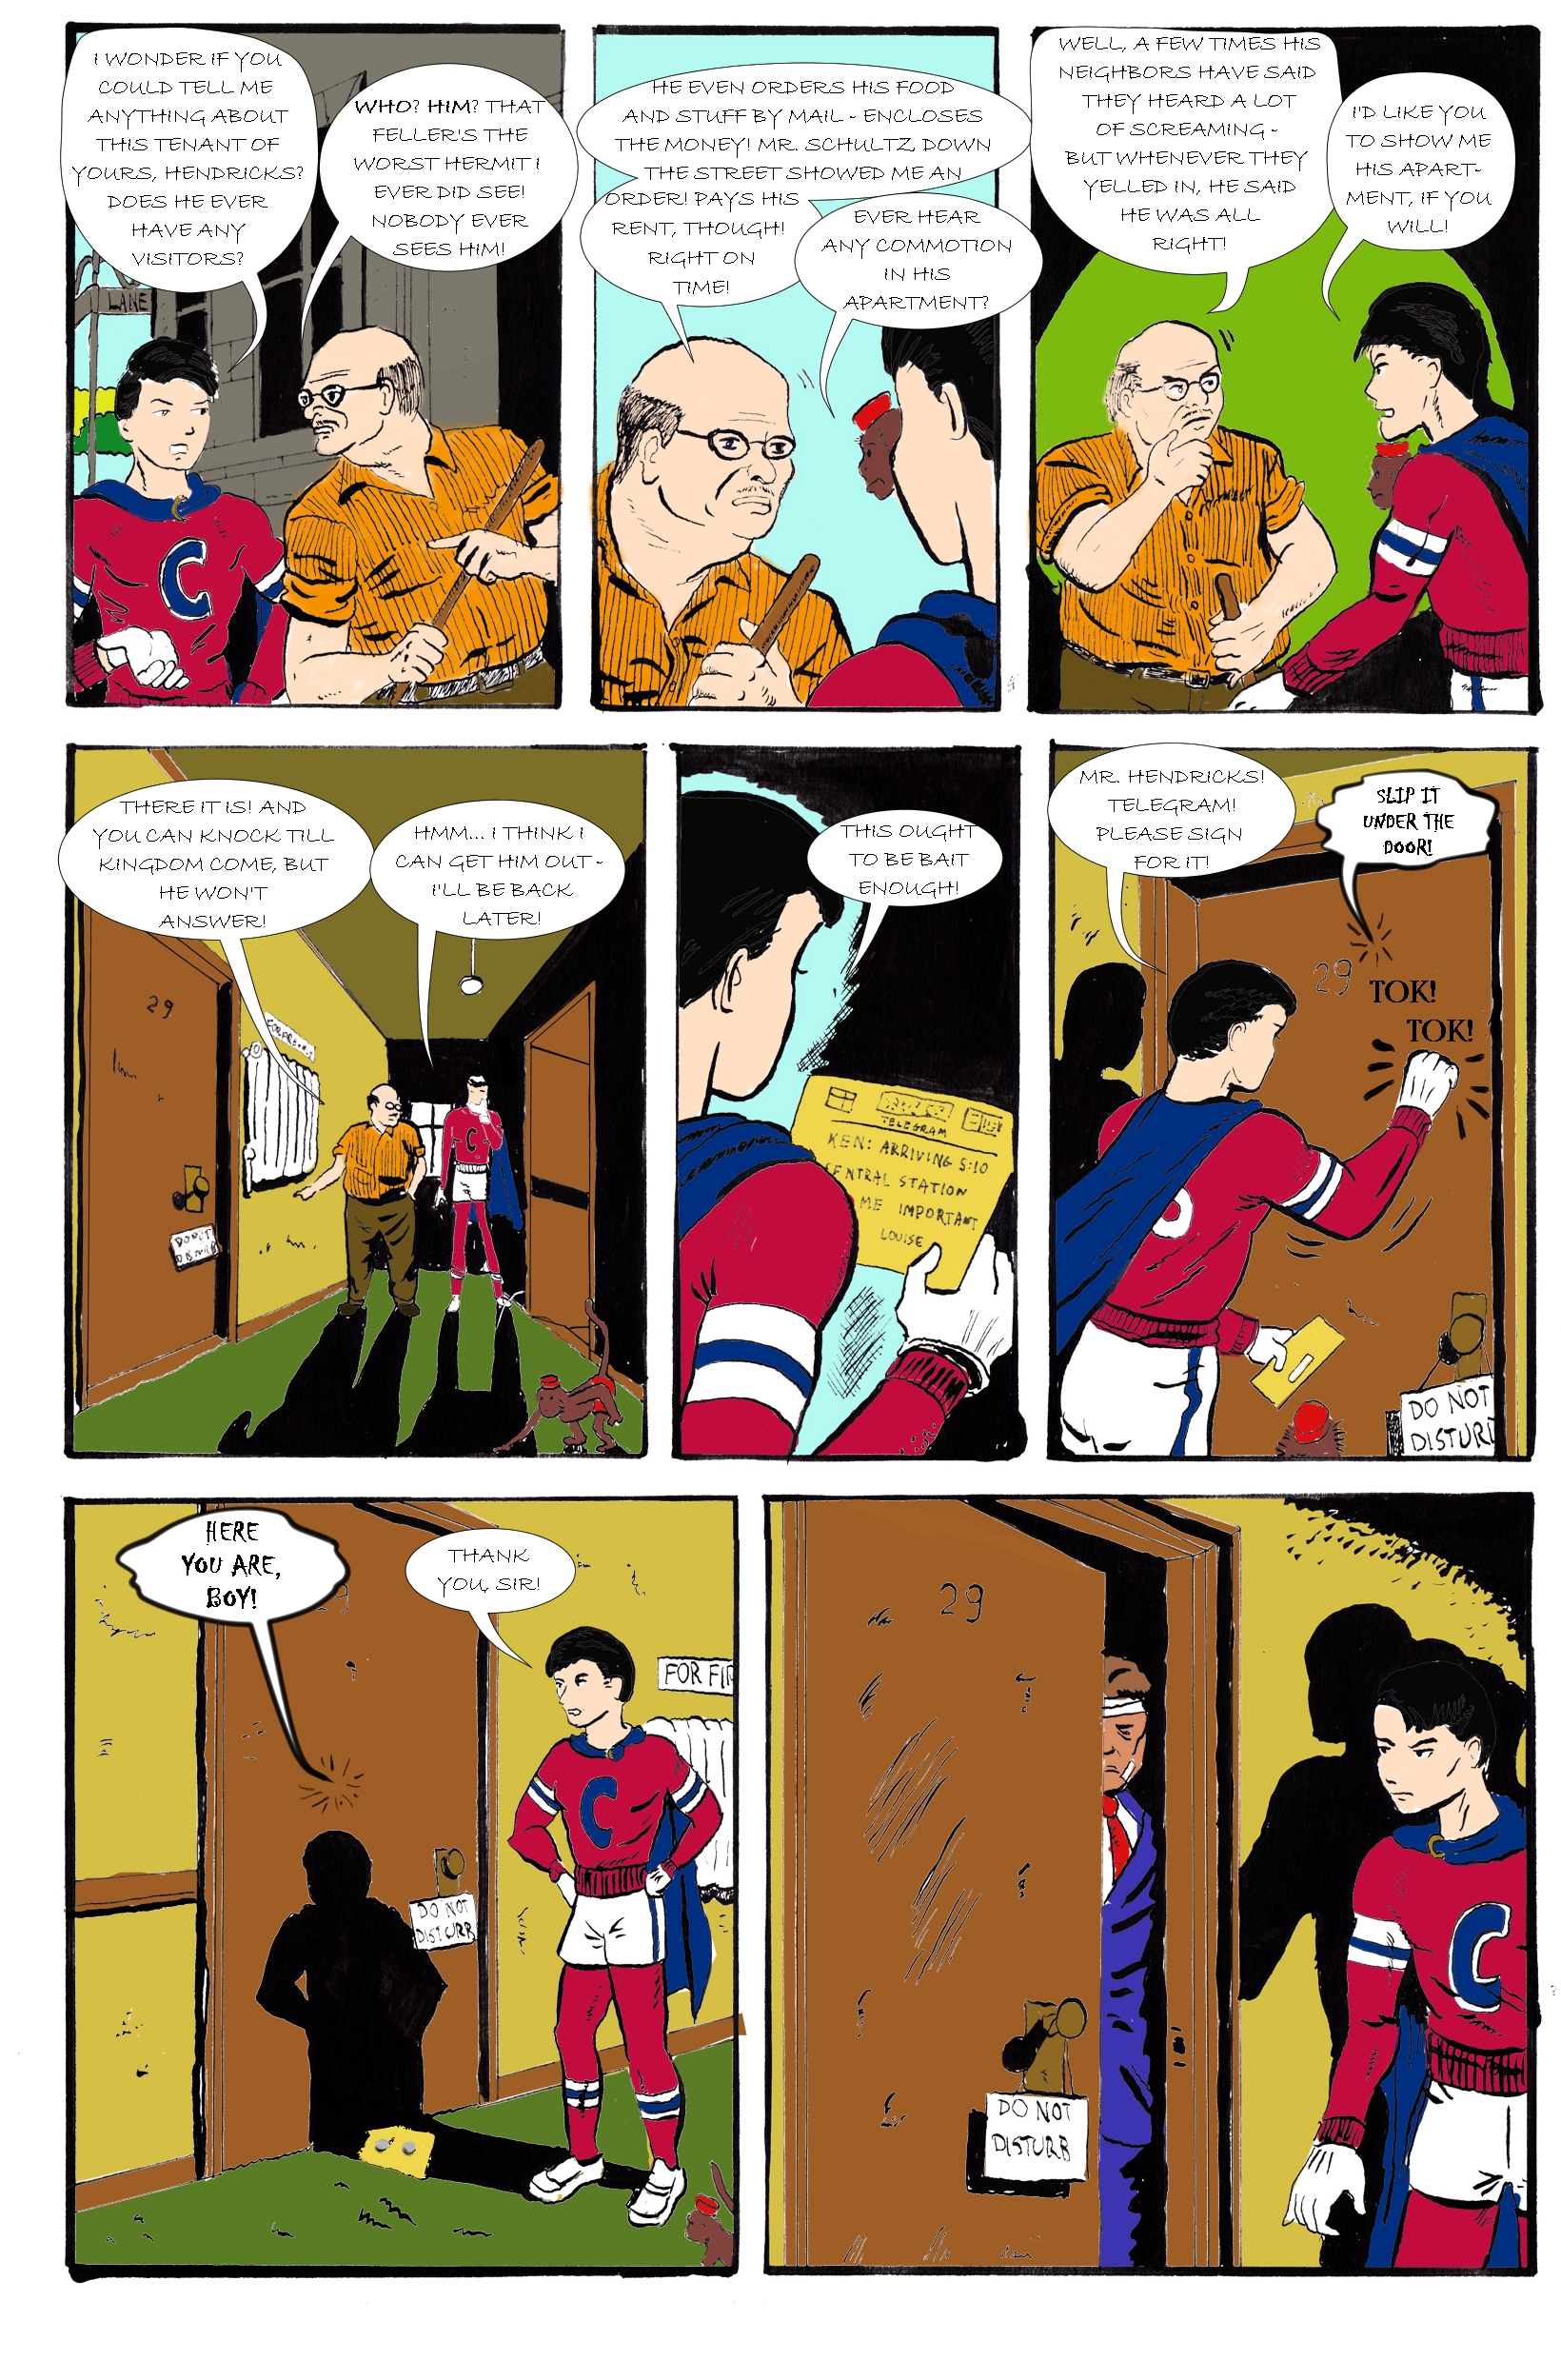
I used a technical pencil again. I'm pretty comfortable with it. I decided to work with Boy Illustories #32, page 11, published in 1946, written by Chuck Biro and drawn by Norman Maurer. This page didn't have any girls on it (pity) but it was drawn by a man who is of considerable talent. I had no idea what I was in for. I really learned a lot from this guy.
The last time, I drew the figures as I would have normally, but when I started trying to copy the Norman Maurer stuff, I found that option wasn't available to me. The way he drew people was really good, and I wanted to try to do justice to it. Like in the opening panels, Crimebuster meets this creepy landlord. I wanted to try drawing the landlord like Norman Maurer did, rather than how I did:
|
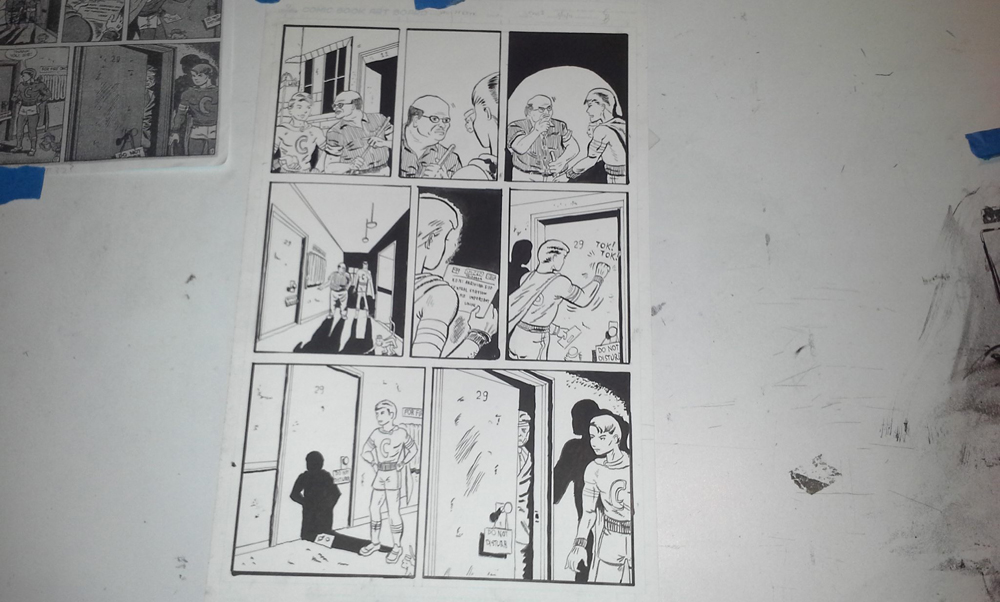
As per usual, I drew all of the panel borders first. However, I found out something weird: take a look at the original version below and ask yourself whether the three panel rows are all the same?
|
It was weird to discover that the panel rows had different heights. Here, Norman Maurer enhanced the sense of tension by making the 8th and last panel the biggest panel on the page. All of the other panels are smaller, and having the last one the biggest size did something extra to the reading experience. I don't have the words for it yet, but this was a really subtle thing that happened here. I wouldn't have realized it if I hadn't been measuring the panel sizes to get a sense of how big the dialog balloons were. THat's how I realized the rows were different sizes.
Speaking of dialog balloons, I decided to say "fuck it" and add them in post production. I didn't like how the balloons turned out last time. My handwriting was really rushed and it was hard to read, so letting the computer do it should be easier. Here's the finished page of pencils:

|
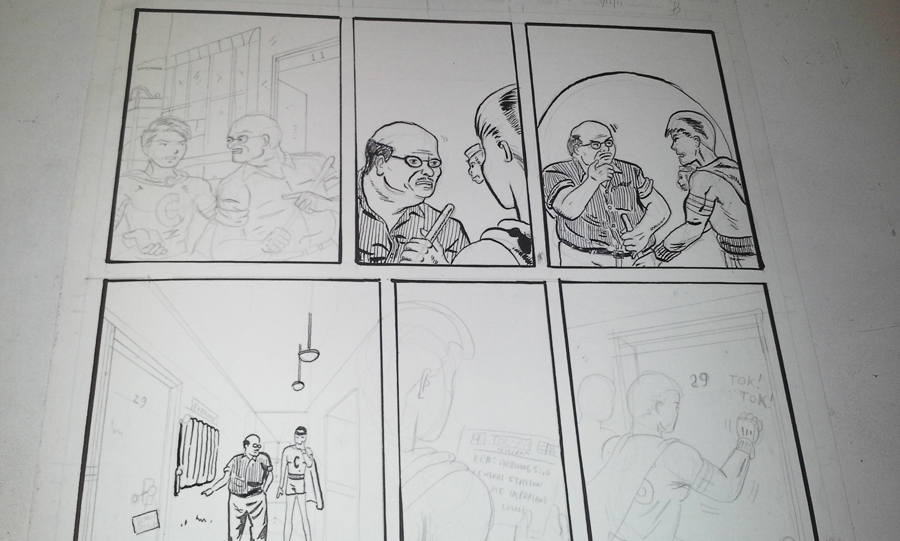
Step Three: Doing the Inks
I'm starting to like inking a little better. This time I solely used a #103 nib and didn't use a brush except for large areas of black. I drew in the panel borders first with two different types of speedball pens. I didn't like how that turned out; it was very difficult to get a consistent line width out of the speedball pens.
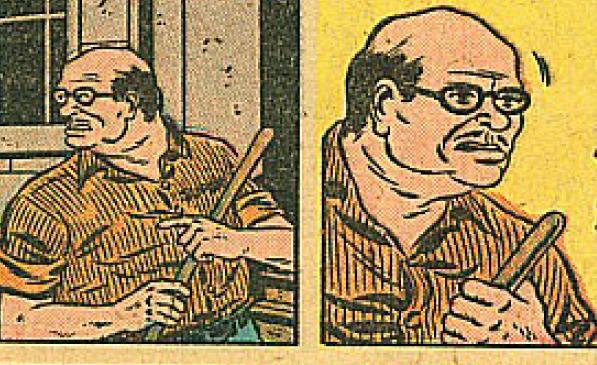
And I got to hand it to Norman Maurer here. Doing this page of comics really taught me a lot about how important it is to accurately depict clothing folds. Here, the landlord's wearing a striped shirt and he's an overweight guy. He also doesn't care much about how he's dressed. He'll buy cheap clothes, that's no big fucking deal. So what? All these things about the landlord character are not written out but instead they are revealed through the folds in the clothing. I really liked the folds in the guy's trousers, too. The outward swipes happen near the center of the panel and enhance the sense of distance in the hallway. It's like his pants echo the perspective lines.
|
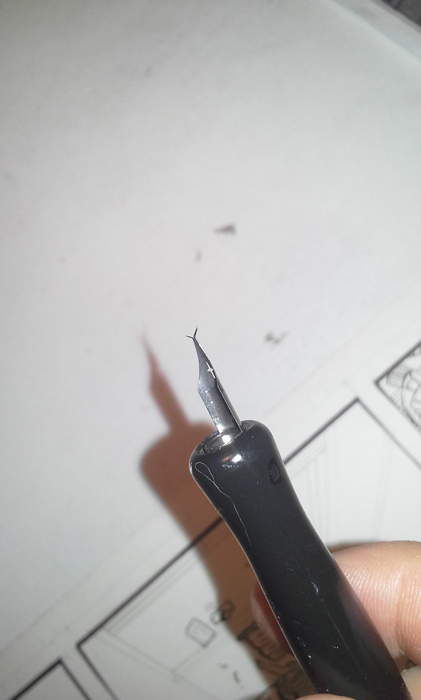
Naturally I dropped the pen. Physical objects are difficult to manage sometimes. I ended up using two nibs to complete this page. Good thing I bought 12.
|
I'm still having problems inking one part of the panel, then inking another part and smearing the first part with my hand. Apparently this happens more often with a nib, that the nib will create beads of ink while the brush won't. Oh well.

|
Something else I learned from inking this page was an interesting way of doing perspective. Ordinarily for this shot of the tenement hallway you'd use a one-point perspective, or maybe two-point. However, I was trying to see where he placed the vanishing point, and so I used a blue pen to trace back the lines. Here's what I found:
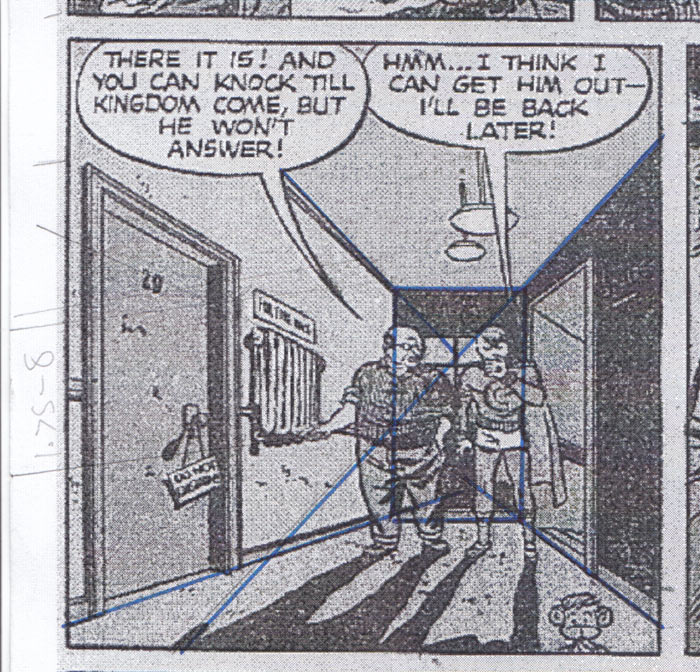
|
I get the sense that Mr. Maurer was using what's called a "shortcut". You see, rather than building a whole bunch of lines off a single point, he instead built lines off of a set of vertical points. This allowed him to set the horizon line of the perspective at the characters' waist level. This is a trick also used by a Japanese director, I forget who, but setting the horizon line here rather than at eye-level places you in a child's POV. Well, a child, or someone who's very short. It emphasizes the physical presence.
Maurer is also good at drawing people very tiny. When you want to set the scene and show where the characters are, you have to pull out. Maybe next time I'll try drawing the characters normal-sized and then use the computer's image resizing capabilities. It's not cheating if it works.
And so the inking of the page is finished. It was very instructive to try to copy Norman Maurer. I got the feeling that he drew people kind of like that guy Charles Burns who did Black Hole. And also Maurer really used shadows well, I thought. Making big areas of complete black, or putting a hard shadow on the wall, that's really a neat skill to have. It gives some of the panels the immediacy of a crime scene photo.
 |
Step Four: Post-Production
So this time, like I said, I decided to use a computer to do dialog balloons. It was much easier. The balloons are legible and I can place them and shape them accordingly, rather than trying to plan all that stuff out first and then draw it and then ink it. For the panels, I used a font called "BTC Hand" or something like that.
I think using regular type fonts like Times New Roman or Impact or whatever adds this strange distance between the dialog and the panels on which it appears. Getting a font that (supposedly) looks like it was handwritten alleviated that sense of distance, but I still want to find a different font. Maybe I'll do one based off of my handwriting.
I used Manga Studio 5 to add the balloons and shape them. This led to some rough edges in the balloons that weren't precisely elliptical, but overall the ease of using a computer beat the shit out of doing them by hand.
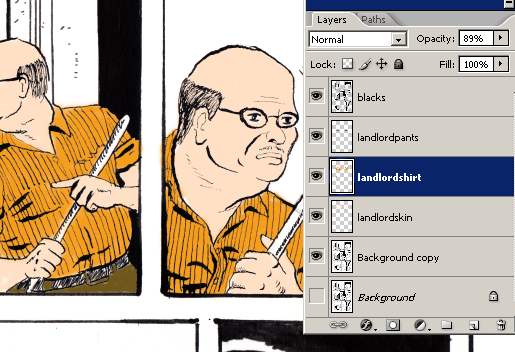
When I did the colors, I ended up using a different method. I copied the black inks and set that as a separate layer. All of the individual colors were applied as different layers beneath the blacks. Ordinarily I'll use the Magic Wand tool to highlight an area and then use the paint bucket tool to fill that area. I realized that would be impossible to do with the landlord's striped shirt, though, so I developed this method. It took longer, but I did like the results.
 click to enlarge |
When they called it "four-color" back then, they weren't kidding. Boy Illustories #32 was published in 1946 and they had blue, yellow, orange, and green, in addition to white and black. THey could lighten or darken the colors a little bit (brown, for example) but they had a very limited pallette. I realized using a computer was an incredible miracle for colors, and allowed a much better way to build mood.
Something that didn't happen back in the 1940s, though, was computer crashing. I lost I think about two hours of work when my photoshop application failed. I had open photoshop, Firefox, and two instances of Adobe Reader. I closed one instance, then tried to switch to the other and the computer said fuck you, I'm going to freeze up completely. Remember to save your work. That kinda sucked, but I did learn a lot this time.
This time I didn't desaturate the colors: here's the full-size version: http://www.comics-for-grownups.com/img/cb-31-11-final.jpg
Step Five: Recriminations
It took me ten days to complete this. I really need to learn how to go faster. I think next time I'll go back to drawing the figures how I would do them normally, rather than trying to copy stroke-for-stroke. Although doing clothing folds correctly was really good, so I'll try to keep doing that.
What I want to do this time is see if I can't complete two pages, drawn, inked, lettered and colored, within a week.
NEXT: Read Part Three of Comic book Practice or Read Part One of Comic Book Practice